
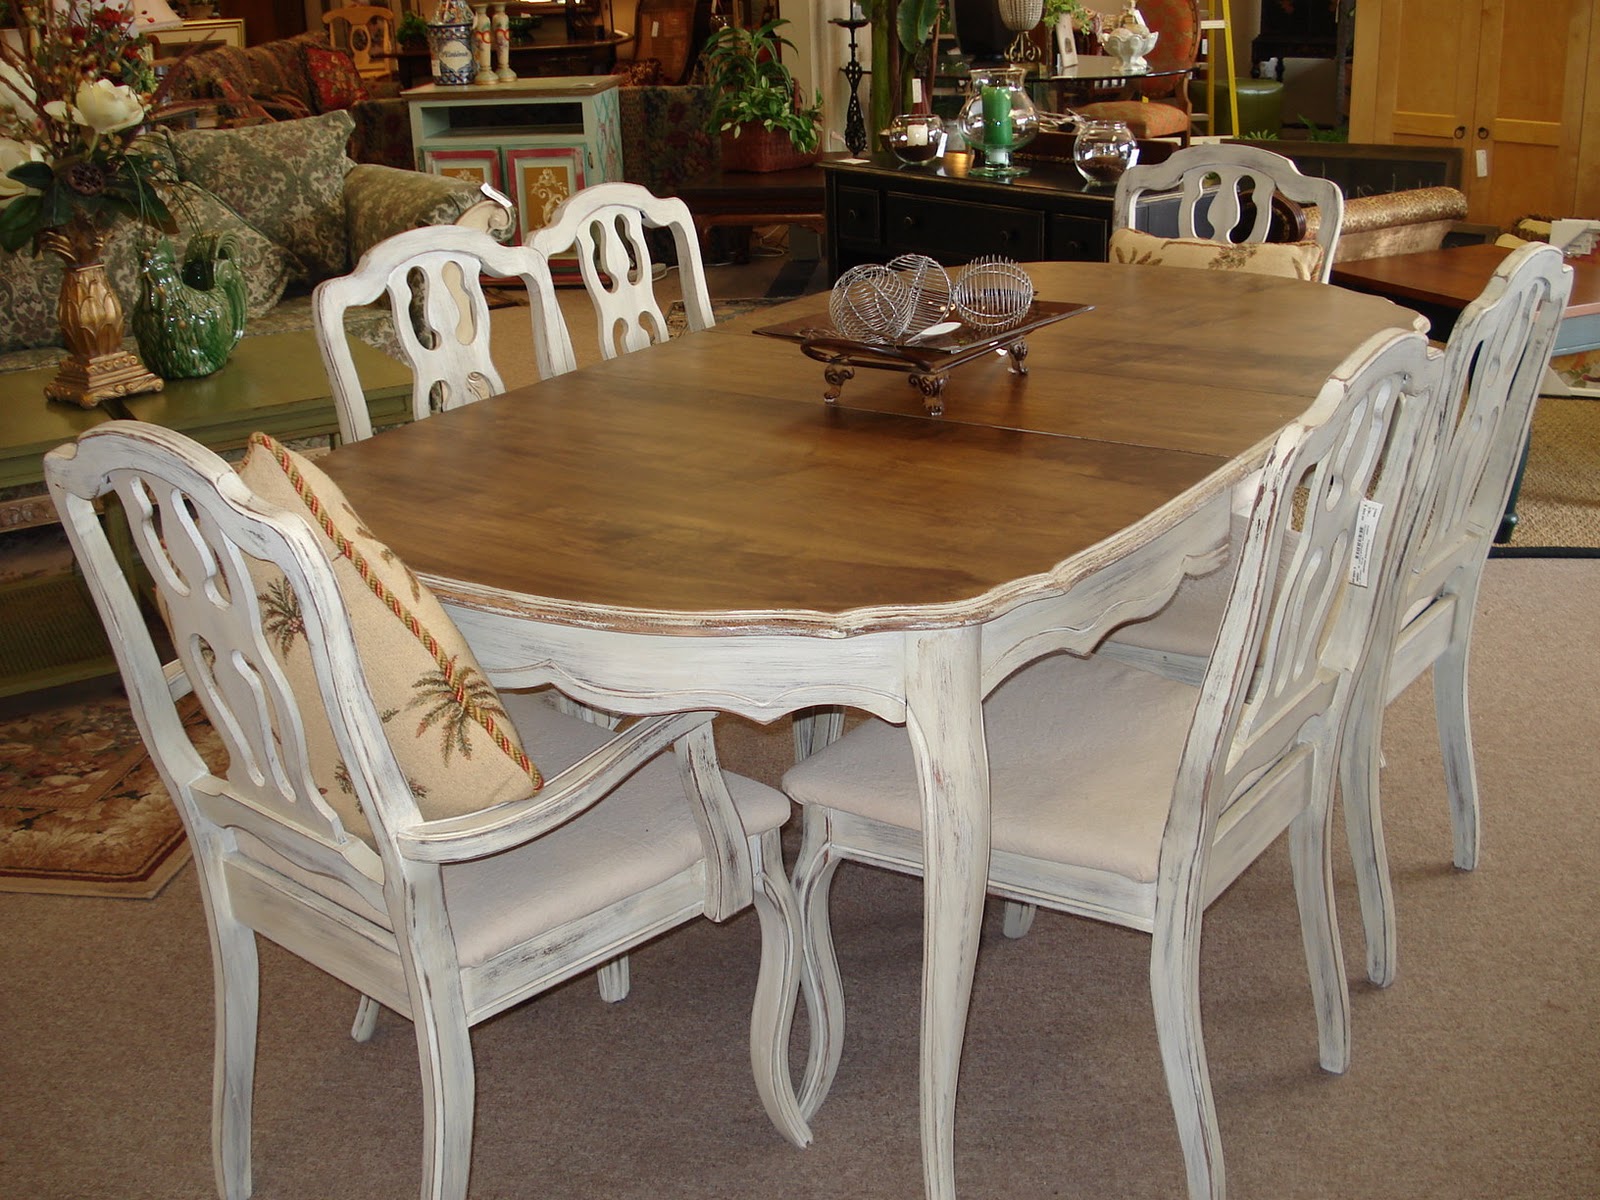

This is the before not too bad, except the seat cover.... whew......

This is the midway point of the table, you might notice that the top is painted. Yup, did all that work then decided it was way too much white and scratches.

This is a closer look at the top it really turned out nice. I love this technique. White with blue and green splotches then all scratched off it blends so nice. Technique is from Here. Although now that I look back at her post I distressed the pieces a LOT more than she did. Oops. Everyone has a different interpretation of a technique. As I mentioned out came the sander and many grades (50,80,100,220) of sandpaper later (2 hours, so much for being pressed for time) this is what it looked like.

I used the dark walnut stain on the top when I got it sanded down. Then put on a polyurethane finish.

I covered the seats with the painters drop cloths that so many of you are using. I figured it was the go to color and texture to blend with the paint technique.
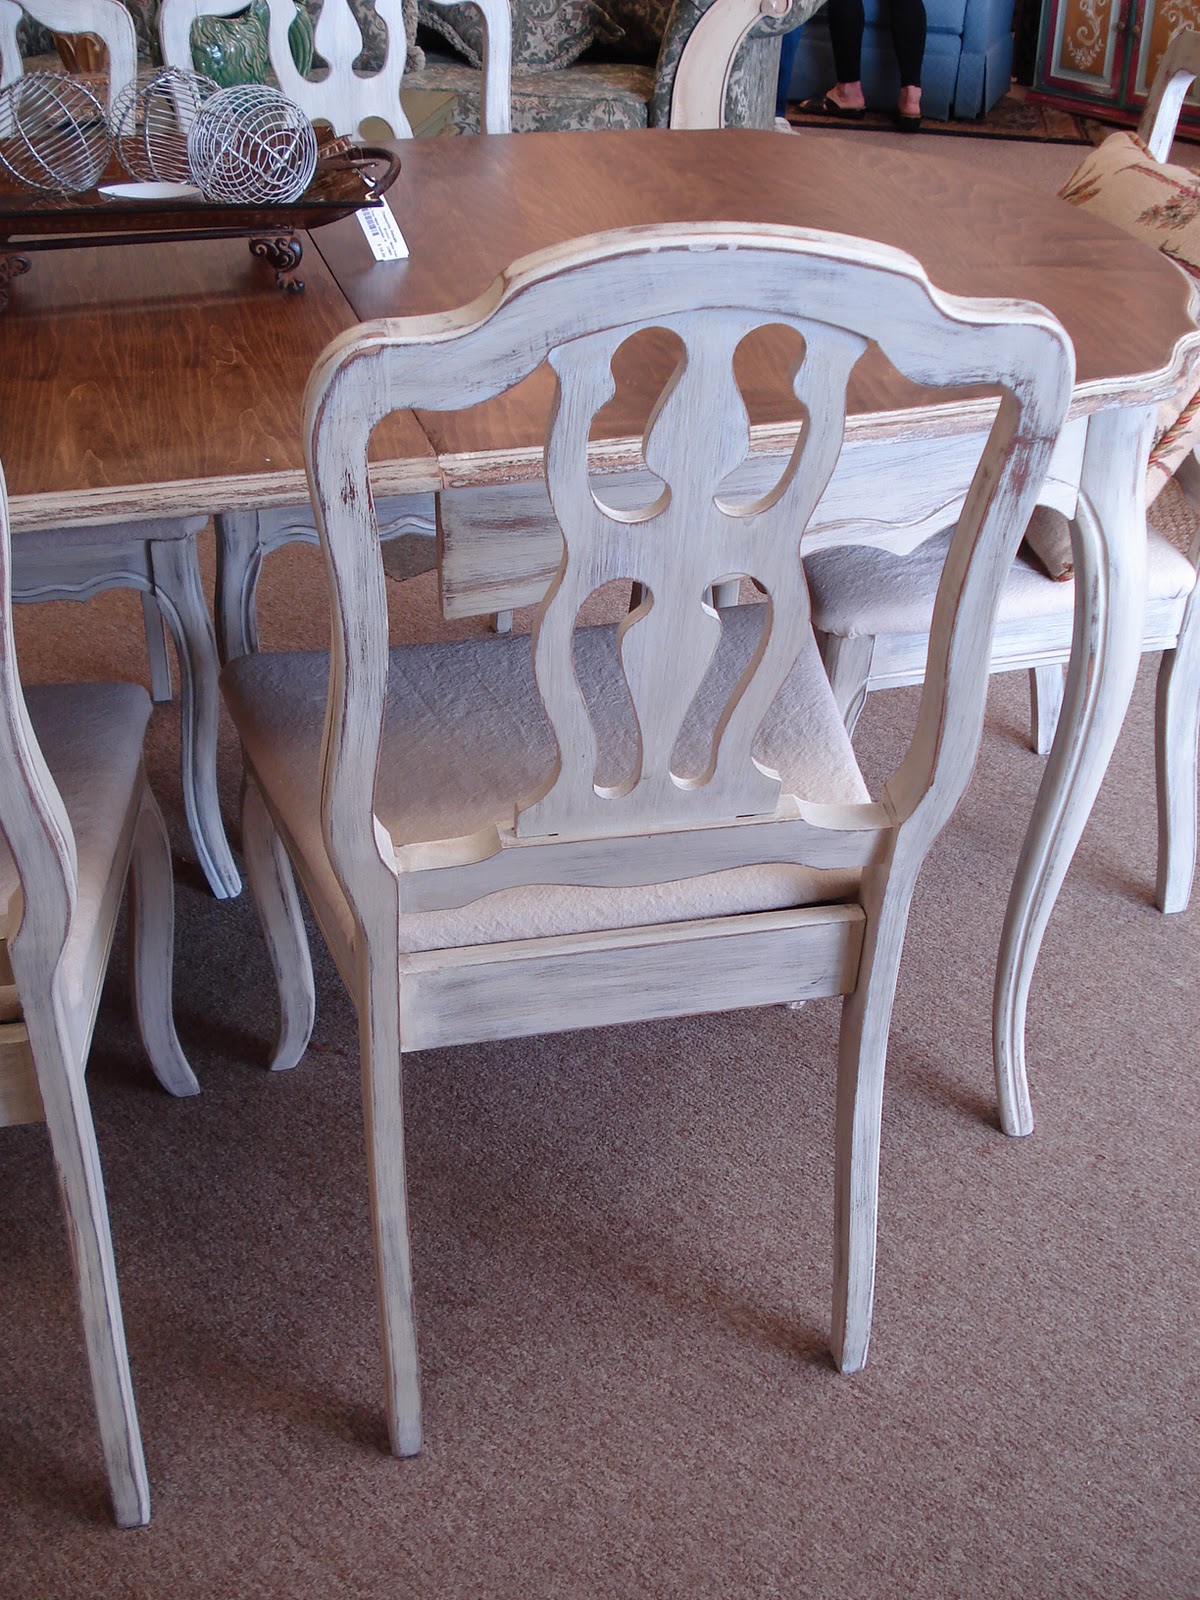
All the painted surfaces got a coating of a mid brown glaze.

It looks rather weathered gray out on the floor. So different from what it looked like back in the shop. Lighting is everything!
A customer came in and liked the set but thought maybe it could be painted black........ ah give me a minute to think about that......no! We have another one almost like it in black already on the floor. Perhaps you would like to purchase that one, hmmmm?


